
A Body-Neutral Garment Length Comparison Checklist
If you want a neutral way to compare garment lengths, this checklist shows how to look at upper, middle, and lower garment areas, then note hems, layer breaks, visible volume, and visual line without body-based judgments.
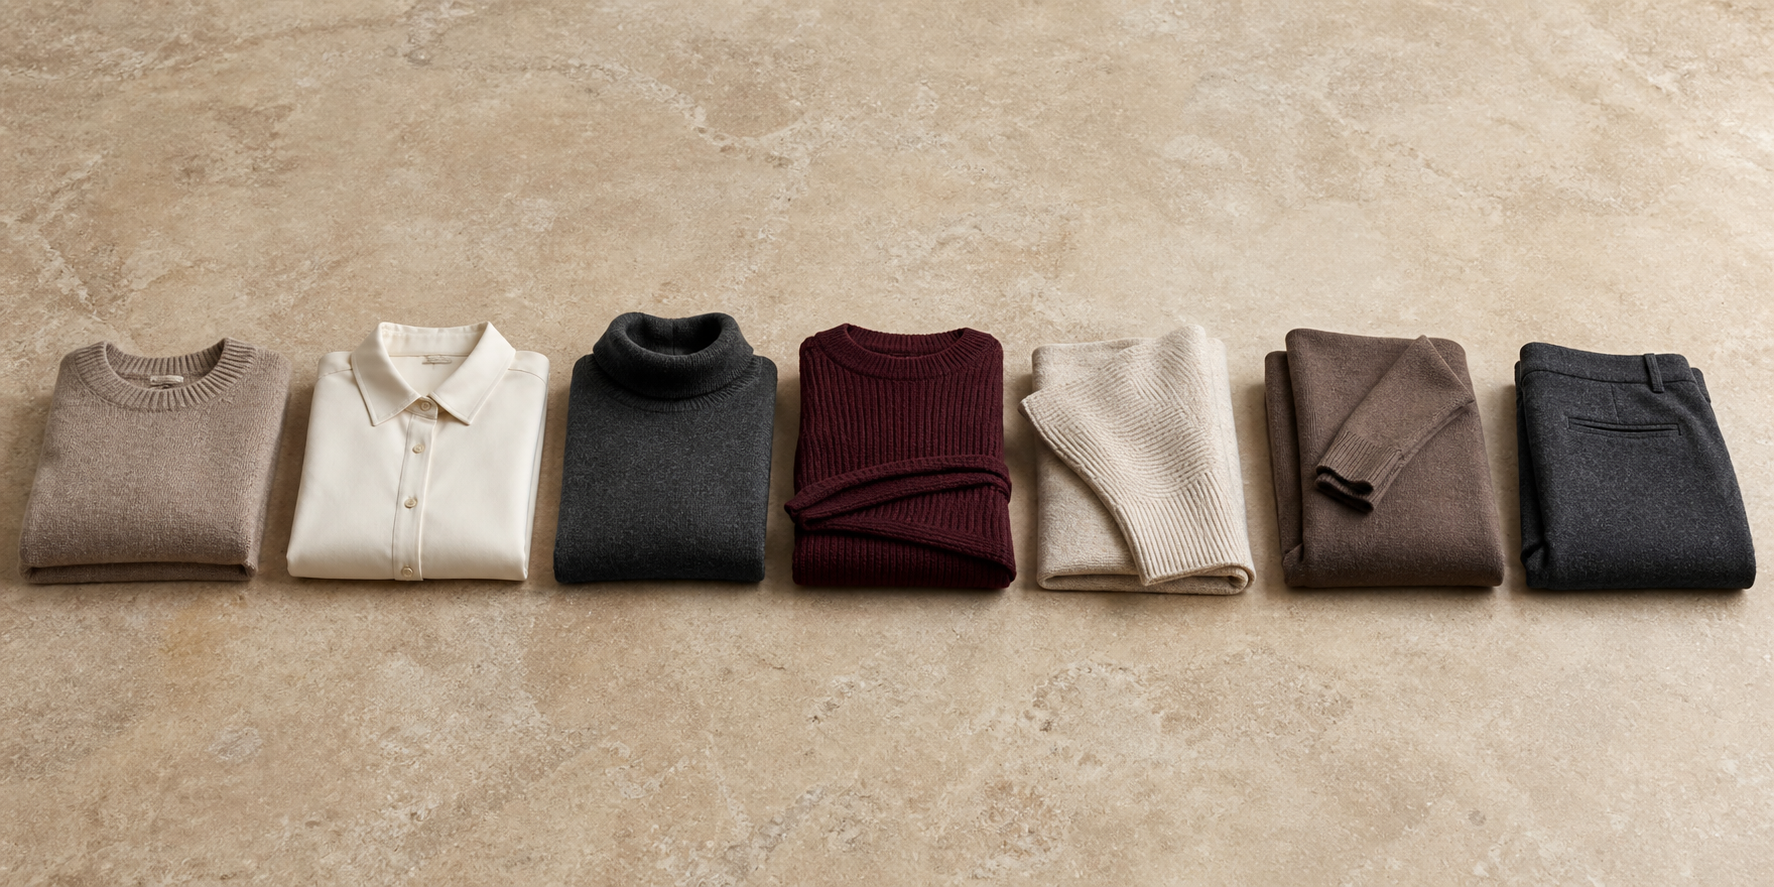
Key points
- Use three garment areas—upper, middle, and lower—as the basic comparison map.
- Record hems, layer breaks, visible volume, and visual line as observable features.
- Keep observation separate from preference and remove ideal-ratio or flattering conclusions.
- Treat exact garment configurations as editorial examples, not universal rules.
Direct answer: the seven garment-length comparison checks
A garment length comparison checklist is a simple way to compare visible garment areas without turning the process into body analysis. The method below stays focused on what can be seen: the upper, middle, and lower garment areas, where hems and layer breaks fall, how much volume is visible, and how the visual line moves through the outfit. The result is a practical observation tool, not a rule about what is better, more attractive, or universally correct.
Use the seven checks when you want a clear, step-by-step way to describe a garment configuration in neutral language. The goal is to separate observation from interpretation and keep each note grounded in what is actually visible.
| Check | What to look at | Neutral note style | |---|---|---| | 1 | Supplied context | Name only what is visible | | 2 | Upper, middle, lower areas | Mark the three zones | | 3 | Hem placement | Record where each hem ends | | 4 | Layer breaks | Note where one layer stops and another begins | | 5 | Visible volume | Describe the amount of visual mass | | 6 | Visual line | Trace the direction of the line | | 7 | Interpretation | Keep observation separate from preference |
If you want another neutral wording reference, these guides may help: Clothing Proportion Mistakes: How to Describe Garments Neutrally and How to Compare Garment Length Configurations Without Body-Ratio Rules.
Check 1: name only the supplied context
Start by naming the visible garment configuration and nothing else. This first check keeps the analysis local to the image or outfit in front of you. It avoids adding assumptions about the wearer, the setting, or why the garments were chosen.
A useful note usually sounds like a direct observation:
- top layer is short or long
- middle layer ends at a visible point
- lower layer continues below the hem
- more than one hem is visible
This first pass keeps the checklist focused on visible garment information rather than body-based comments. The approved source material supports objective analysis and step-by-step image consultation, which makes a checklist format appropriate for garment observation.
What this check is not
It is not a place for ratio judgments, flattering language, or conclusions about what looks best. Keep the note descriptive and brief. If you cannot see a detail clearly, say so rather than filling in the gap with a guess.
Check 2: locate the upper, middle, and lower garment areas
The approved source structure uses three main areas for analysis: upper, middle, and lower. In a garment-length comparison checklist, those same zones work well as a map for reading what is visible.
For this article, use the following three parts as editorial comparison zones:
- Upper area: the part closest to the neckline or shoulders
- Middle area: the section around the torso or central garment span
- Lower area: the part that extends toward the hemline or below it
This three-zone map does not require any body judgment. It simply gives you a consistent way to locate where each garment part begins and ends.
A neutral way to record the zones
Use plain notes such as:
- upper area: short layer visible
- middle area: continuous garment panel
- lower area: longer layer visible
The point is not to classify a body. The point is to compare garment sections in a repeatable way.
Check 3: note each hem and layer break
Hems and layer breaks are the clearest markers in garment-length comparison. A hem is the visible edge of a garment. A layer break is the point where one garment ends and another begins.
This check asks you to identify:
- where each hem sits
- whether hems are close together or spaced apart
- whether the transition between layers is abrupt or gradual
- whether the garment edges overlap or sit separately
These are objective observations. They help you compare configurations without reaching for body-proportion language.
Editorial example
Editorial example: a jacket ends above a skirt waistband, and the skirt hem sits below the knee. Note the two hems and the visible break between layers.
Editorial example: a top ends at the hip while trousers begin at the waist. Record both edges and the distance between them.
Editorial example: a long outer layer covers a shorter inner layer. Describe the overlapping hems and whether the edge transition looks continuous or interrupted.
Check 4: describe visible volume neutrally
The source material supports observing silhouettes as distinct style elements. In this article, that means describing visible volume as a garment feature, not as a value judgment.
Possible neutral volume terms used here as editorial checklist examples include:
- narrow
- moderate
- extended
- gathered
- structured
- soft
These words describe what is visible in the garment configuration. They do not imply that one amount of volume is superior to another.
How to keep the wording neutral
Say what the eye can see:
- the sleeve has noticeable volume
- the skirt falls in a wide shape
- the outer layer adds extra width
- the trousers read as tapered
Avoid translating volume into flattering or minimizing language. If you find yourself about to say “better,” “more balanced,” or “more attractive,” return to the visible feature itself and describe that instead.
Check 5: trace the visual line
Visual line means the path the eye follows across the garment configuration. It is a useful way to compare length because line is created by hems, overlaps, openings, and silhouette changes.
For this checklist, the following visual-line descriptors are editorial examples:
- continuous
- interrupted
- stepped
- overlapping
- vertical
- horizontal
- angled
This does not require body interpretation. It is simply a description of how garment sections connect or break apart.
A practical way to trace the line
Move from top to bottom and ask:
- Does the line continue without interruption?
- Does one hem stop the eye and another restart it?
- Do layers create a stepped effect?
- Does overlap make the line feel layered rather than singular?
The answer can be written in one sentence. For example: “The line is stepped because each layer ends at a different point.” That is enough.
Check 6: separate observation from preference
This check is one of the most important parts of a neutral comparison method. The approved source material includes body-proportion and flattering-language concepts, but those do not belong in the final checklist. Instead, keep the raw observation separate from any later preference statement.
A simple two-part note can help:
- Observation: what is visible
- Preference: if you choose to add one later, keep it separate and subjective
For example, an observation may say that one hem ends above another hem. That is factual. A preference statement might describe whether the viewer likes that relationship. The two should not be blended together.
Why this matters
When observation and preference are mixed, the result often sounds more certain than it is. A checklist works best when it stays specific, limited, and easy to verify.
Check 7: remove ideal-ratio and flattering conclusions
The source material contains body-proportion guidance and flattering-language framing, but those ideas should be excluded here. In a garment-length comparison checklist, there is no need to claim that one configuration is always correct, more balanced, or more attractive.
Before finalizing your notes, remove any sentence that:
- compares a garment configuration to an ideal ratio
- uses appearance-ranking language to evaluate the result
- refers to best features or perceived flaws
- suggests minimizing or correcting anything about a body
- implies confidence, authority, or social outcomes
This final check keeps the method aligned with the evidence gate and with the requested body-neutral framing.
Editorial example
Editorial example: a cropped jacket with a high-waisted skirt and visible ankle-length trousers underneath. Describe the layers, hems, and line only. Do not turn the note into a statement about proportion quality.
A simple workflow for using the checklist
If you want a compact routine, use this sequence:
- Name the visible garment configuration.
- Divide it into upper, middle, and lower areas.
- Mark each hem.
- Mark each layer break.
- Note visible volume.
- Trace the visual line.
- Remove any ratio-based or flattering conclusion.
This workflow keeps the method consistent and easy to repeat. It also fits the source material’s support for objective, step-by-step analysis.
Quick comparison notes you can reuse
Here are some neutral sentence patterns that keep the focus on garments:
- “The upper area is short, the middle area is continuous, and the lower area extends further down.”
- “The hemlines are staggered, creating a stepped visual line.”
- “The outer layer adds visible volume without changing the basic length sequence.”
- “The layers overlap, so the line reads as layered rather than single.”
These are useful because they describe structure without judgment. They can also help you compare two garment configurations side by side using the same vocabulary.
Summary
A neutral garment length comparison checklist can be built from three garment areas, the placement of hems and layer breaks, visible volume, and visual line. The approved source material supports an objective, step-by-step format, but the final checklist should avoid body-proportion language, flattering claims, and universal rules.
If you need the method in one sentence: look at what is visible, describe it in plain terms, and keep preference separate from observation.
Questions readers often ask
What makes this a neutral garment length comparison checklist?
It focuses only on visible garment areas, hems, layer breaks, volume, and visual line. It avoids body-based judgments, flattering language, and universal rules.
Can I use body-analysis language when comparing garment lengths?
The approved source material includes body-proportion ideas, but this article translates them into neutral garment-only description. For this checklist, keep the focus on what is visible in the clothing rather than on a body.
What should I write if a configuration has several visible layers?
Note each hem and each layer break in order from top to bottom. Then describe whether the visual line is continuous, stepped, overlapping, or interrupted.
Want a calmer way to plan garment comparisons?
Explore Smart Wardrobe’s planning resources for more neutral, step-by-step style frameworks you can adapt to your own analysis process.
Explore Smart Wardrobe resources