
How to Use a Body-Neutral Styling Checklist
If you want to adapt a styling example without judging or hiding any body area, this guide shows a body-neutral way to do it. It starts with the supplied context and stated preferences, then walks through garments, colour, line, proportion, silhouette, and a simple edit process. You’ll also see how to separate source-supported styling principles from editorial examples that are not universal rules.
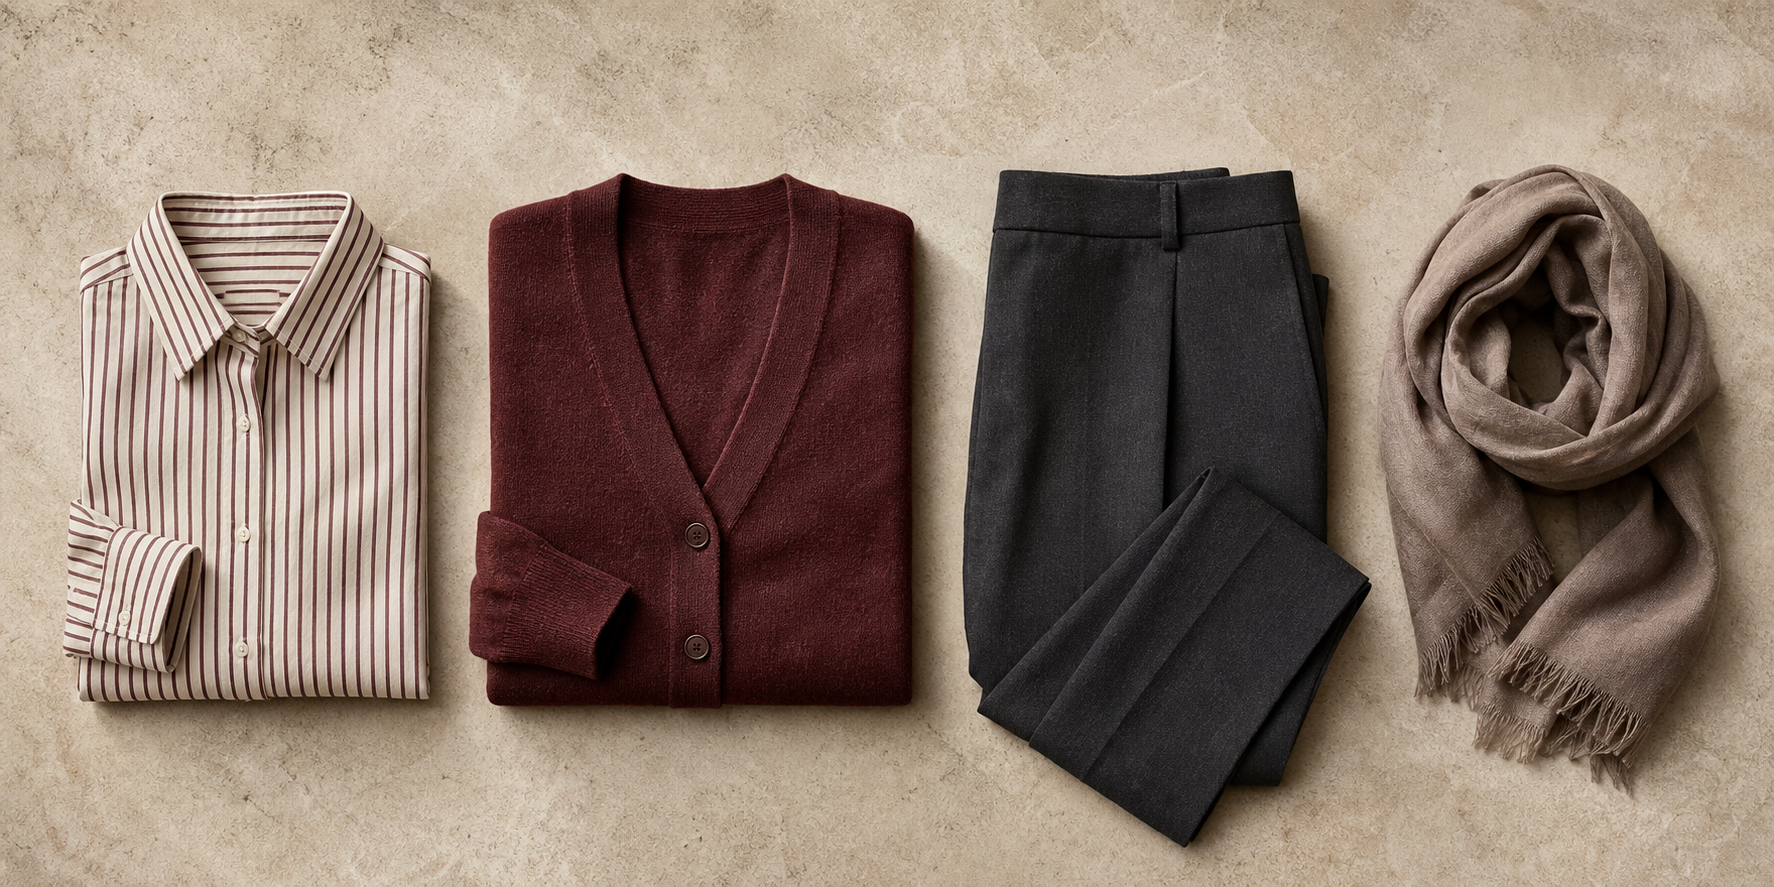
Key points
- Start with the supplied context and stated preference before making any styling adaptation.
- Keep the review focused on garments, colour, line, proportion, and silhouette.
- Translate older concealment or correction language into neutral composition terms.
- Change one visible element at a time so each edit stays clear.
- Label any exact outfit formula as an editorial example, not a rule.
Direct answer: a body-neutral checklist for adapting a styling example
A body-neutral styling checklist starts with the information you were actually given, not with assumptions about the person wearing the clothes. From there, use a garment-focused description of what is visible in the styling example: the garments, colour combination, silhouette, proportions, and line. If you need to adapt the example, do it step by step: analyze the composition, plan the change, add or adjust accessories only if they are part of the brief, and then refine the result.
The key shift is language. The approved sources include older styling terms such as highlighting best features, minimizing perceived flaws, or creating an ideal look. In a body-neutral checklist, that source-era framing is replaced with neutral description of visual composition. The goal is to compare and edit an outfit example without ranking bodies or making claims about correction.
Here is the simplest version:
- Restate the supplied context and stated preference.
- Describe the visible garment composition.
- Compare colour, line, proportion, and silhouette.
- Remove concealment or correction language.
- Change one visible element at a time.
- Check whether the result still matches the brief.
Start with the supplied context and stated preference
The first step is to work only from the context you were supplied. The sources support starting with gathering information, analyzing preferences, and setting goals before styling decisions are made. In practical terms, that means you begin by restating the brief in neutral terms: what kind of styling example is being adapted, what preference was stated, and what the intended styling goal is.
This matters because it keeps the process local to the request. You do not need to infer body shape, measurements, workplace, budget, weather, occasion, or personal taste beyond what is already provided. If the input is thin, the safest move is to keep the adaptation general and editorial rather than guessing details.
A useful test is: “Can I describe this adaptation without mentioning anything I was not told?” If the answer is yes, you are still inside the approved brief.
Describe the garments rather than judging a body
A body-neutral checklist keeps attention on clothing and visible composition. The approved sources support discussing clothing styles, silhouettes, colour analysis, proportions, and accessories as part of the styling process. That means you can describe what is in the outfit without turning the discussion toward the body underneath it.
Useful neutral descriptors include:
- garment type: shirt, blazer, skirt, trouser, dress, layer
- colour combination: lighter/darker, high-contrast/low-contrast, tonal/mixed
- silhouette: fitted, relaxed, structured, fluid, compact
- proportion: shorter/longer, narrower/wider, more vertical/more horizontal
- line: straight, curved, crisp, soft, uninterrupted, broken
These are description tools, not judgments. They help you compare one styling option with another while keeping the conversation on visible design features.
What to avoid in the description
Do not switch into language that implies concealment, correction, slimming, flattering, or problem-area management. The source material contains older terms of that kind, but they should be treated as source-era framing rather than advice.
A neutral rewrite might look like this:
- Instead of: “This top minimizes the torso.”
- Use: “This top creates a straighter line through the upper half.”
- Instead of: “This skirt balances the figure.”
- Use: “This skirt changes the visible proportion between the upper and lower sections.”
The difference is subtle but important: the second version describes composition without making a claim about what a body should look like.
Compare colour, line, proportion and silhouette
The sources support comparing styling choices through visible composition. A practical way to do that is to move through four lenses in the same order each time: colour, line, proportion, and silhouette. This creates a repeatable checklist and helps you avoid vague opinions.
| Visual feature | Neutral question to ask | What you are comparing | |---|---|---| | Colour | Is the palette close or contrasted? | Colour combination and contrast | | Line | Does the outfit read straight, curved, crisp, or soft? | The direction and continuity of the visual line | | Proportion | Are the sections visually similar, or is one part longer, shorter, wider, or narrower? | Relative size relationships between garment parts | | Silhouette | Does the overall outline read fitted, relaxed, structured, fluid, or compact? | The outer shape created by the clothes |
This framework is useful because it separates visible design choices from body-based interpretation. If you compare two styling options, you can explain the difference without saying one body is better suited to one option than another.
A short decision path
If you are unsure how to adapt an example, use this order:
- Color first — decide whether the revised example should stay tonal or become more contrasted.
- Then line — decide whether the visual direction should read sharper, softer, straighter, or more curved.
- Then proportion — decide whether the lengths and sections should feel more even, more elongated, more compact, or more layered.
- Then silhouette — decide whether the final outline should feel more fitted, relaxed, structured, or fluid.
That sequence works because each step changes a different visible feature. It is easier to see what changed when you adjust one element at a time.
Remove concealment, correction and ranking language
The sources contain traditional styling language about highlighting best features, minimizing perceived flaws, and creating an ideal or balanced look. Those phrases can be useful as historical source language, but they are not the right vocabulary for a body-neutral checklist.
A cleaner editorial approach is to translate that older wording into neutral composition terms. The result is more precise and less judgmental.
Here are some examples of the translation:
- “Highlight the best features” becomes “Emphasize a chosen garment detail.”
- “Minimize flaws” becomes “Reduce visual emphasis on one area of the outfit.”
- “Create a balanced look” becomes “Adjust proportion and silhouette so the outfit reads evenly.”
- “Ideal look” becomes “The intended visual result for this brief.”
This translation step is especially useful when you are editing a generic styling example for publication. It keeps the final text aligned with the brief while avoiding advice that suggests bodies should be hidden, corrected, or ranked.
Change one visible element at a time
The approved sources support a step-by-step process: analyze, plan, accessorize, then refine. That sequence is practical because it makes each change easier to read.
When adapting a styling example, change one visible element at a time:
- adjust colour contrast while keeping silhouette stable
- change proportion while keeping line stable
- revise silhouette while keeping colour stable
- add or remove an accessory only after the main composition is clear
This method is useful whether you are writing an article, reviewing an outfit formula, or comparing two versions of the same example. If too many things change at once, it becomes hard to tell which element created the result.
A simple workflow is:
- Name the original visible feature.
- Choose one adjustment.
- Describe the revised effect in neutral language.
- Check that the rest of the composition still reads clearly.
Three clearly labelled editorial examples
The following examples are editorial only. They are not universal rules and they are not prescriptions.
Editorial example: colour contrast only
Editorial example: a top-and-bottom pairing is adapted by changing the colour contrast while keeping the silhouette and line reading the same.
This example shows how you can make a visible change without altering the whole outfit logic. The comparison stays focused on colour rather than on body-based interpretation.
Editorial example: proportion shift only
Editorial example: a layered outfit formula is revised by changing the proportion of the outer layer relative to the inner layer, while keeping the rest of the composition consistent.
This kind of edit is helpful when you want to demonstrate that proportion can change the reading of an outfit without introducing any body judgment.
Editorial example: language rewrite only
Editorial example: a simple outfit composition is reframed by replacing ranking language with neutral description of garment shape, length, and visual balance.
This is often the most important editorial edit. If the original source wording depends on concealment or idealization, the rewrite should focus on what the clothes are doing visually instead.
A final body-neutral review checklist
Before you finish, check whether the adaptation still matches the supplied brief.
- Did you start with the stated context and preference?
- Did you describe garments and visible composition rather than a body?
- Did you use neutral language for line, proportion, silhouette, and colour?
- Did you avoid concealment, correction, and ranking terms?
- Did you change one visible element at a time?
- If you included an exact outfit formula, did you label it clearly as an editorial example?
- Did you avoid inferring body shape, wardrobe, workplace, weather, occasion, budget, or personal preference?
If the answer is yes to all of these, the adaptation stays within the body-neutral approach supported by the sources.
When to use broader image-consultation language
The source material also mentions accessories, makeup, hair, and occasion appropriateness as part of image consultation. That broader scope can be useful in a general styling context, but a body-neutral checklist does not need to cover all of it.
If your assignment is specifically about adapting a generic styling example without inference, it is enough to stay with garments and visible composition. That narrower scope keeps the article focused and avoids adding categories that were not requested.
If a future brief asks for full image consultation, the scope can expand. For this article, the cleaner choice is to keep the checklist limited and precise.
Summary
A body-neutral styling checklist is a simple, practical way to adapt a styling example without judging or hiding any body area. Start with the supplied context, describe only what is visible, compare colour, line, proportion and silhouette, replace older concealment language with neutral composition terms, and change one element at a time. That approach stays close to the source-supported process while keeping the advice clear, respectful, and editorial.
Frequently asked questions
What is the difference between an editorial example and a rule?
An editorial example is a clearly labeled illustration of how an outfit could be described or adapted. A rule would claim that one result is universally correct. The approved sources support process and visual analysis, but they do not support universal outfit rules.
Can I include accessories in a body-neutral checklist?
Yes, if the brief includes them. The source material includes accessories within image-consultation guidance, but a body-neutral checklist can also stay limited to garments and visible composition when that is the requested scope.
Do I need to mention body type at all?
Not if the task is to stay body-neutral. The article can remain focused on garments, colour, line, proportion, and silhouette without inferring or naming body shape. That is the cleanest way to keep the checklist aligned with the brief.
Questions readers often ask
What is the difference between an editorial example and a rule?
An editorial example is a clearly labeled illustration of how an outfit could be described or adapted. A rule would claim that one result is universally correct. The approved sources support process and visual analysis, but not universal outfit rules.
Can I include accessories in a body-neutral checklist?
Yes, if the brief includes them. The source material includes accessories within image-consultation guidance, but a body-neutral checklist can also stay limited to garments and visible composition when that is the requested scope.
Do I need to mention body type at all?
Not if the task is to stay body-neutral. The article can remain focused on garments, colour, line, proportion, and silhouette without inferring or naming body shape.
Want a calmer way to plan styling notes?
Explore Smart Wardrobe as an optional planning tool for organizing styling ideas in a clear, body-neutral way.
Explore Smart Wardrobe